


I recently purchased a 2008 module iMac for design work. This machine only came with a 320GB hard drive which is just too small for my tastes. Since I had a 1.5TB drive laying around doing nothing I decided to swap the 2 drives out.
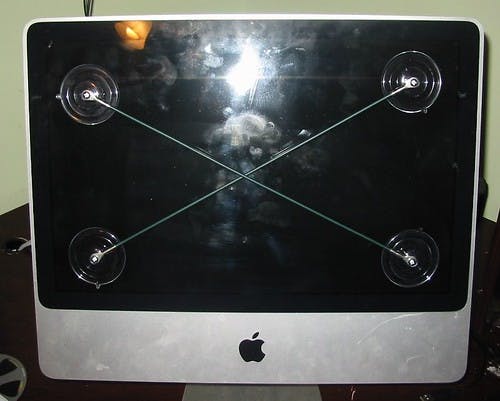
The first step is to remove the screen protector from the case.
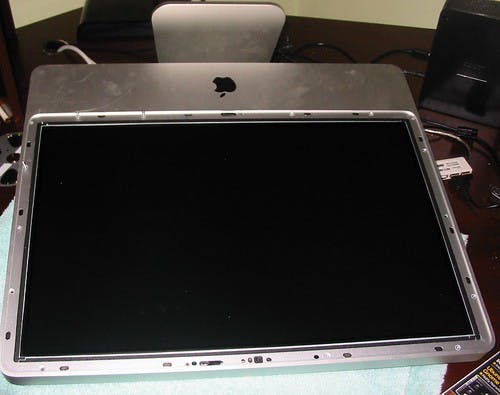
Step 2 - Removing The Front Bezel
This was the hardest part of the whole process, First step is to remove the memory door and memory. After that remove all Torx Screws out of the way. There are 8 short T8 Torx Screws along the top and side of the bezel. Then there are 4 long Torx screws along the bottom.
After removing the Torx screws, Work your way around the bottom of the iMac and try to loosen the stand, there's a groove on the bottom I used a pocket knife to get it started then lifted carefully lifted up from there.
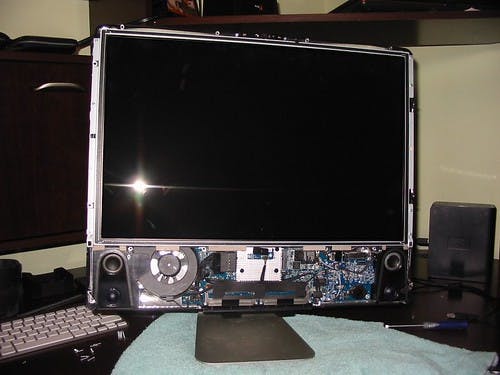
Step 3 - Disconnecting the iSight Camera
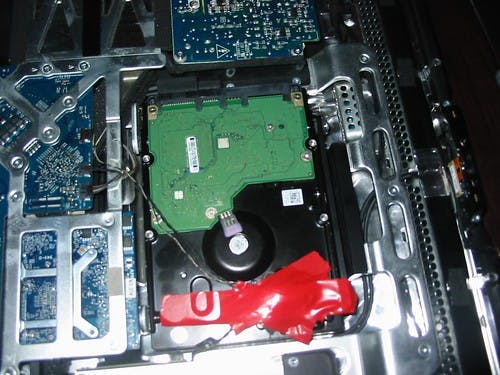
Step 5 - Replacing the Hard Drive
Ok After all that finally found the hard drive, there is a Black Handle on one side of it, I used my leg to hold the mac in place and pulled the handle to me so that the hard drive pulled right out. Personally, my Temp Sensor would not stick back on so I used electric tape to tape it back on. Once you have finished this step, Reverse the rest of the steps and make sure you Clean both the LCD Display and the Inside and Outside of the Screen Protector or you will have annoying fingerprints on your display.
One other thing makes sure all your wires are routed properly and not blocking any screw holes, When I went to reinstall one of the wires in the bottom would not fit the screw hold so I had to remove everything to figure out why, if I would have forced it to go in, It would have broken something I'm sure.
Step 6 - Reverse the process
After replacing the hard drive just reverse the process to put everything back together. One important thing I forgot to mention is to do a Drive clone before you change the drives out. I forgot to do that and had to boot from my old drive as an external drive.